PICO-8 Tweetcart Studies
distance signs
Author: Munro Hoberman (@MunroHoberman)
Link: https://twitter.com/MunroHoberman/status/1365000731284041732
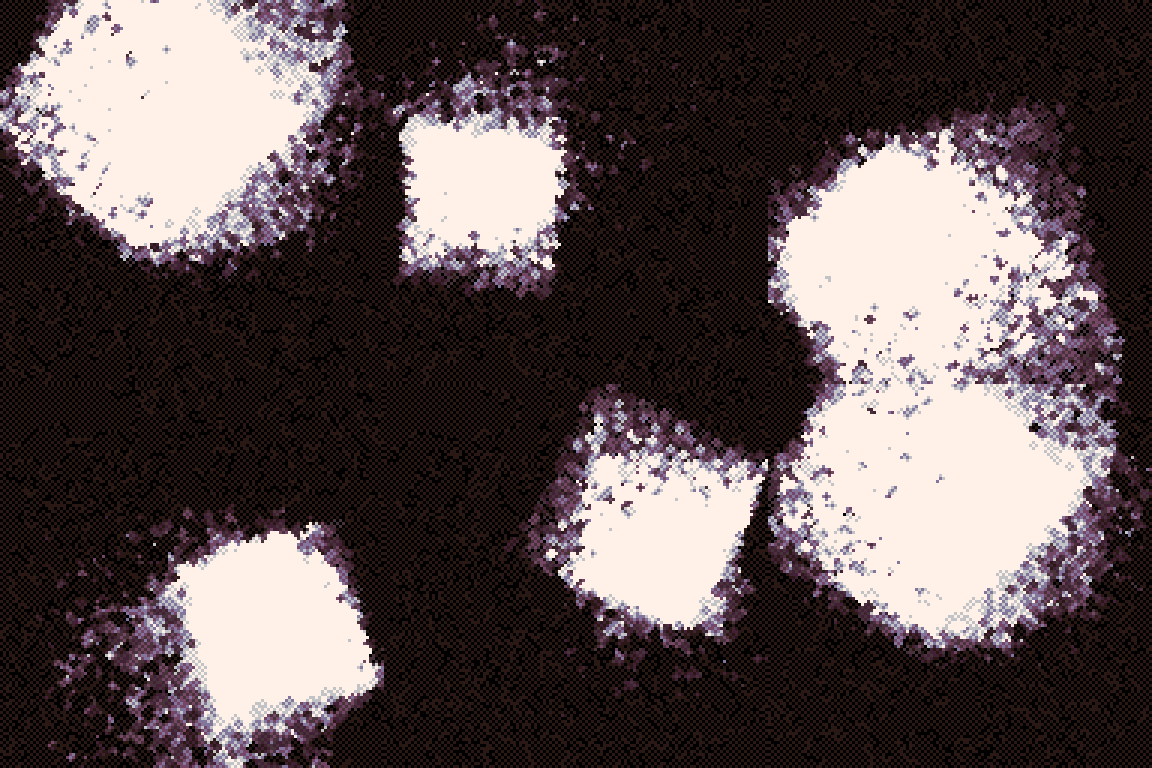
Display Palette
Summary
This is a really interesting cart. It uses something like a signed distance function to create a square, and rotates the pixel it’s rendering so that the square ends up rotating around the screen! For the point rotation, this SO question and this answer in particular will both be very useful for working that part of the code out.
For how the square bounds actually get calculated, take a look at this 2d distance function page from @iquilezles, and also at some of these videos (though the videos mostly focus on 3d distance functions, the same principle applies).
This tweetcart also has a very unique look to it. A few things contribute to this. First off, all the drawing is done with circ() with a radius of 1 - so the actual pixel that we’re rendering isn’t written, we just write all four pixels that border this one. As well, in c we calculate the current value of the pixel, send it towards 0, and then add that to the new value our renderer ends up with. Both of these together means that fading-out both slowly goes darker (see the display palette above for the gradient), and it also spreads out as it fades out.
Take a close look at how c is calculated: c=abs(pget(x,y)-1). What this means that a pixel that’s coloured 0 will write a colour of 1, and vice-versa. But that’s done to all of the neighbouring pixels, not the one we’re actually rendering and reading from. This also means that by default, the rendering function will try to create checkerboard patterns of 0 and 1 coloured pixels. And that areas that are either all 1 or all 0 will create some furious value-flipping. Looking at how the edges of different checkerboard spaces interact in the cart really reminds me of when you interrupt stable patterns in the game of life.
Pictures
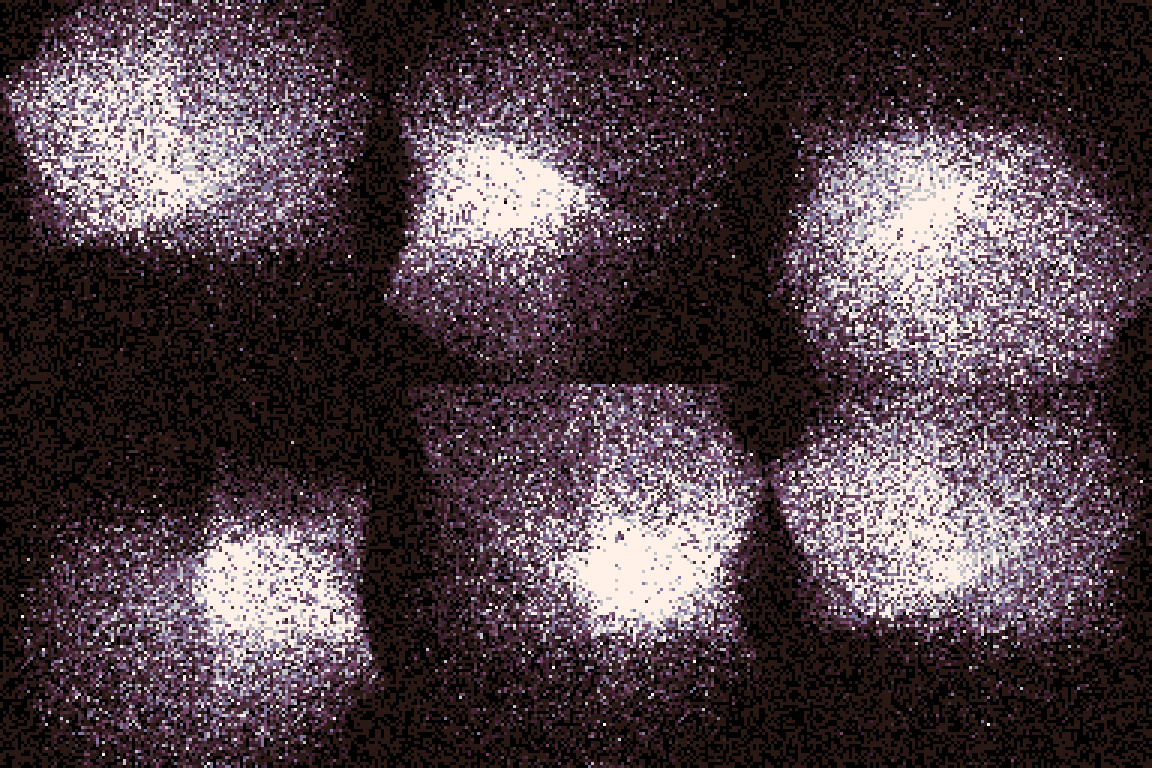
This is how the cart looks with a pset() instead of a circ() with a radius of 1.
Less pixels are drawn, but also less pixels are dithered-out, so the fading away takes longer.
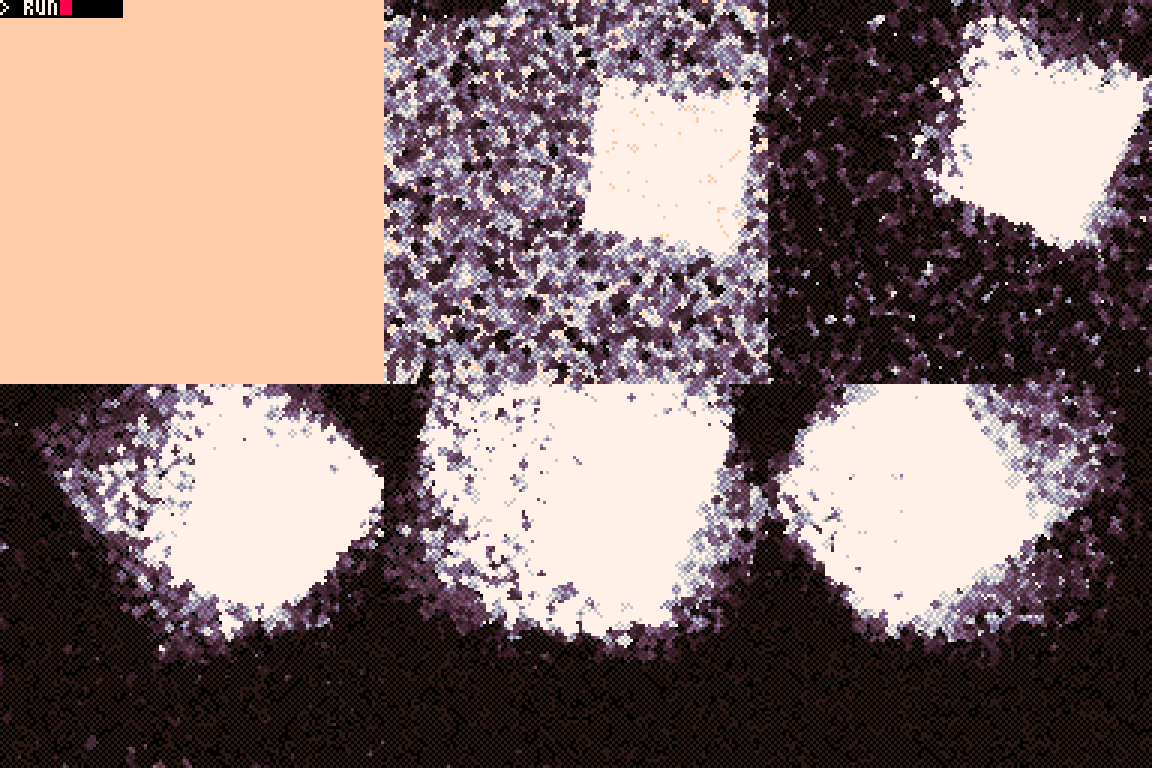
This is how the cart looks when starting from a cls(15). The min(7,*) immediately flicks the colour down to pure white, and then it keeps fading towards black/purple (0/1) from there.
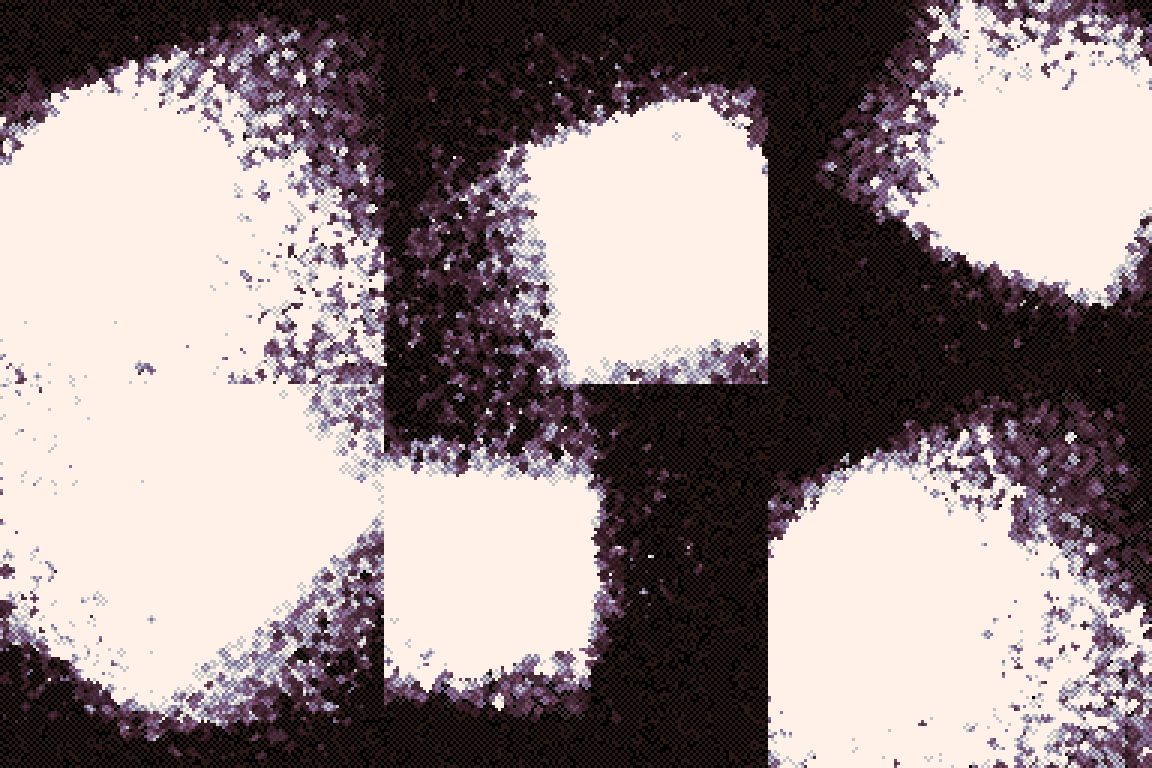
This is how the cart looks when we do -.2 in the distance function instead of .3. Less of the border is taken away, so the square is larger.
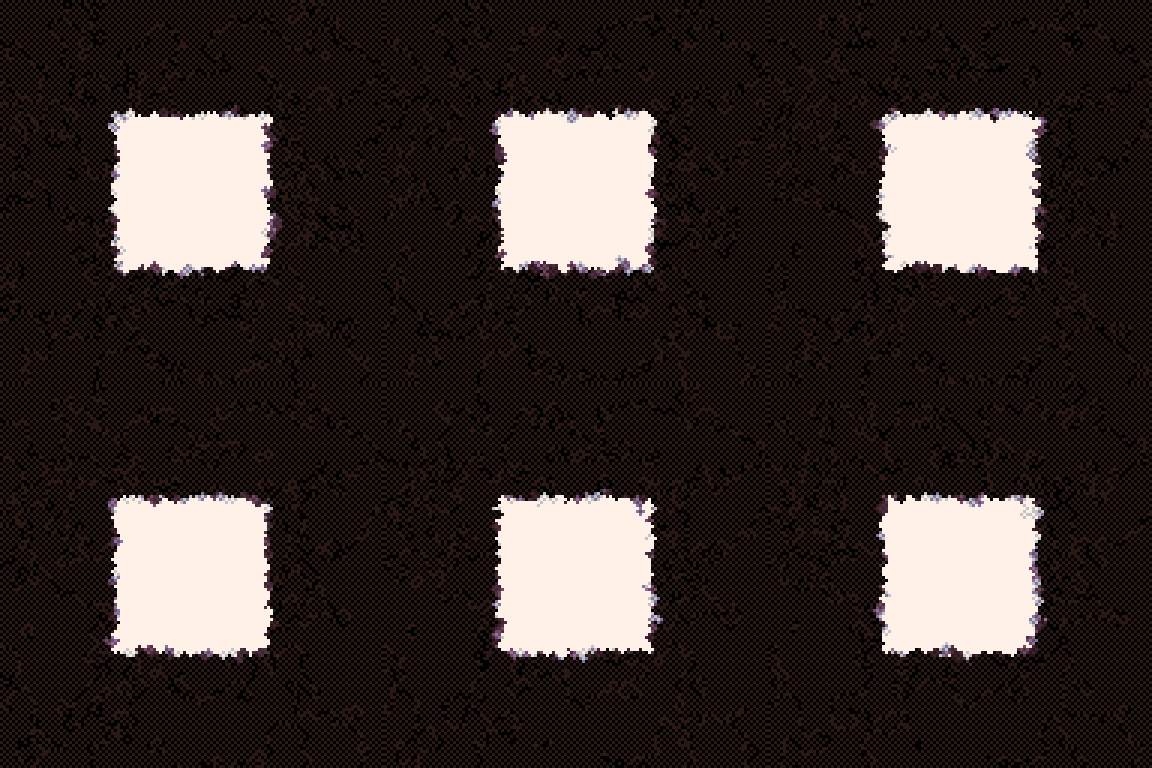
This is how the cart looks if we set j=x/128 and k=y/128. This is the actual shape we're rendering (and .3 of each border is cut off!).
Tweet code
function s(n)return mid(1,(n-.3)/0)end
pal({-16,-14,-11,-3,13},1)
::_::
r=t()/8
x=rnd(128)
y=rnd(128)
e=x/128-cos(r)/4-.5
f=y/128-sin(r)/4-.5
j=cos(r)*e-sin(r)*f/2+.5
k=sin(r)*e/2+cos(r)*f+.5
n=s(j)m=s(k)n*=s(1-j)m*=s(1-k)
c=abs(pget(x,y)-1)
circ(x,y,1,min(7,n*m*2+c))goto _
Breakdown
-- this function returns 1 if (n) is over 0.3, and
--  returns zero otherwise. it's sort of like a signed
--  distance function, except it just returns 0 or 1
function s(n)
  -- from the pico-8 manual:
  --  > Dividing by zero evaluates to 0x7fff.ffff if
  --  > positive, or -0x7fff.ffff if negative.
  -- .3 is the size of the borders around the square,
  --  since the area below that (0,0.1,0.2) is cut off.
  return mid(1,(n-.3)/0)
end

-- setup the screen palette
pal({-16,-14,-11,-3,13},1)

-- start the rendering loop.
-- we render a single pixel every loop
::_::

-- easily-adjustable time \o/
r=t()/8

-- which random pixel are we rendering now?
x=rnd(128)
y=rnd(128)

-- so, the cos/sin(r) generates a point that's rotating
--  around the screen. here, we calculate how far away
--  our pixel is (in x and y) from that point.
-- cos and sin(r)/4 will flick between -0.25 and +0.25 .
-- the -.5 doesn't actually do anything for this step,
--  what it does is change the rotation so that it
--  happens *around* 0,0 . Before the -.5, e and f swing
--  from -.25 to .25 (at x=0) and 0.75 to 1.25 (x=128).
--  after, -.75 to -.25 (x=0) and .25 to .75 (x=128).
-- and this is necessary for the step below.
e=x/128-cos(r)/4-.5
f=y/128-sin(r)/4-.5

-- a lot of magic happens here. this is what rotates
--  our point, creating the rotating-square effect.
-- the last step normalised our point to be centred
--  around 0,0, so we can simplify the usual rotating-a-
--  point-in-2d-space functions (e is already px-ox and
--  f is py-oy).
-- instead of shifting the actual square we're rendering
--  we're rotating the *pixel* we're rendering so that
--  we can make the shape-comparison a lot simpler. wild
-- the +.5 and -.5 shift us back to our real position,
--  since the point rotation is now complete.
j=cos(r)*e-sin(r)*f/2+.5
k=sin(r)*e/2+cos(r)*f+.5

-- s() returns 1 if the input is over 0.3, and otherwise
--  it returns 0. since the point we're rendering (j for
--  x and k for y) has been rotated and shifted,
--  comparing these values to create a simple square
--  creates the rotated square in the final effect!
--
-- find the left and top bounds of the box.
n=s(j)
m=s(k)

-- find the right and bottom bounds of the box.
-- if either this or the above function returns 0, then
--  n is zero. and because of how these are multipled
--  together in the circ() function, if either n or m
--  are zero then the whole thing's zero.
n*=s(1-j)
m*=s(1-k)

-- get the current value of this pixel and send it
--  towards the darker end of the gradient (or if it's
--  already 0, it flips back to being 1).
-- this is responsible for nicely, slowly fading values
--  to black, and with the circ() it also helps create
--  some interesting checkerboard patterns in the bg.
c=abs(pget(x,y)-1)

-- this doesn't write to the pixel we're currently on,
--  but to every pixel around the one we're rendering.
--
-- the min(7,*) cuts off any value over 7 (pure white).
circ(x,y,1,min(7,n*m*2+c))

goto _