PICO-8 Tweetcart Studies
Square Tunnel
Author: Luca Harris (@lucatron_)
Link: https://twitter.com/lucatron_/status/1096168653735657472

Tunnel Colour Pattern
Summary
This is a tunnel that uses a really simple, but effective approach. Making tunnel effects with circ() that work this way is difficult because it’s really easy to run into situations where empty pixels exist in the rounded corners. But since rect() is being used here, that problem just doesn’t happen.
Actually generating the tunnel here is fairly simple. We start off at the far end (with the small radius), and then slowly step further out until the entire screen is covered. Far in the tunnel, the colour shifting happens fast and the spiraling gets more intense, and as it gets closer to the camera both of those slow down.
The most complicated part of this effect is probably the colours. The fill pattern’s a checkerboard, meaning that the ‘upper’ colour is used for one half the screen and the ‘lower’ colour is used for the other half. When the tunnel has only shows full blocks of colour, that means the ‘upper’ and ‘lower’ colours are the same (and when the tunnel shows the gradient, the upper and lower colours differ). The f() function takes the input number and produces an output that ping-pongs from one side of the colour pattern to the other, and the inputs to that function are offset by .5 to produce the solid and checkerboard parts. If you’re after more information on pico-8 fill patterns, take a look at this wiki page and this cart.
Pictures

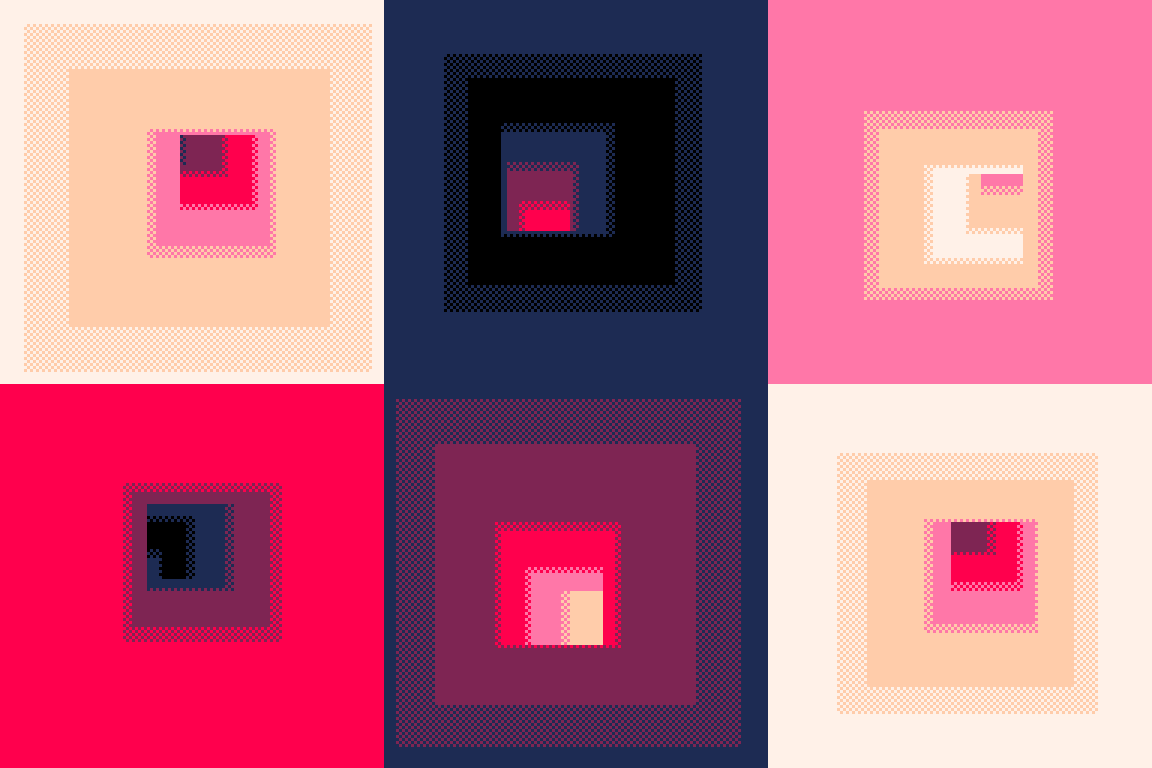
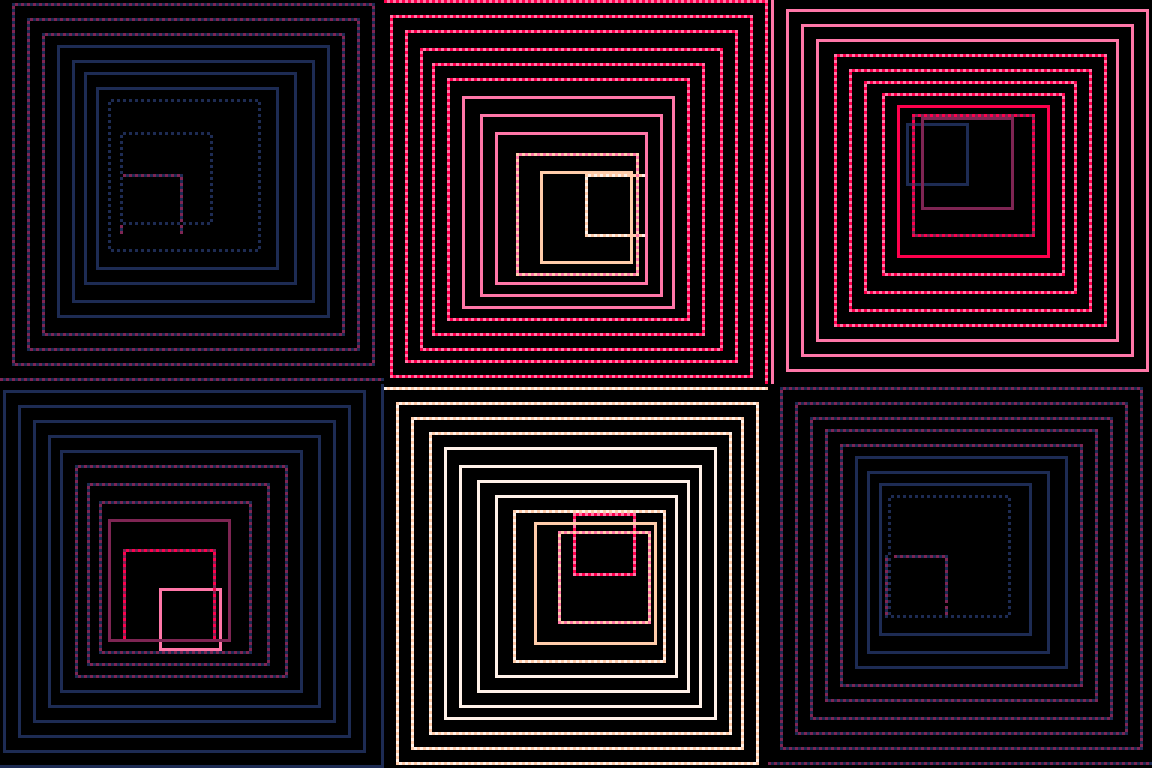
This is how the further parts of the tunnel look, see how the spiral gets more intense. We replaced ,68 with 68+min(0,sin(t()/4)*70)

This is how the effect looks if we replace f(i+.5) with f(i+.2) in the rect call. See how the +num controls the width of the borders.

This is how the effect looks if we only render a few slices (replacing the ,.1 with a ,5). Keep an eye on the colours of each slice.
Tweet code
c={0,1,2,8,14,15,7}
fillp(0xa5a5)
function _draw()
for w=3,68,.1 do
  a=4/w+t()/4
  k=145/w
  x=64+cos(a)*k
  y=64+sin(a)*k
  i=35/w+2+t()*3
  rect(x-w,y-w,x+w,y+w,f(i)*16+f(i+.5))
end
end
function f(i)
return c[flr(1.5+abs(6-i%12))]
end
Breakdown
-- tunnel colours
c={0,1,2,8,14,15,7}

-- standard 0101,1010 pattern.
-- looks like a checkerboard!
fillp(0xa5a5)

function _draw()
  -- we don't do a cls() here, but we don't *need* to
  --  because we draw over every pixel on the screen
  --  anyways. yay less space used up in the tweet!

  -- start deep in the tunnel, and step to bigger rects
  for w=3,68,.1 do
      -- general input to the sin/cos for this slice of
      --  the tunnel.
      -- 2/w means that deeper into the tunnel will get
      --  more twisty and curvy.
      -- t()/4 so that the pattern repeats every
      --  4 seconds, which makes it super easy to export
      --  a nicely-looping gif for twitter :D
    a=4/w+t()/4

    -- k is a modifier for the sin/cos, it basically
    --  makes sure that far off in the distance, the
    --  tunnel rotates and spins off into a big crazy
    --  spiral, but as it gets closer to the camera the
    --  twisting calms down a lot more.
    -- x=cos and y=sin is just a circle, but since the
    --  radius gets bigger as we go further into the
    --  distance, the tunnel ends up being a nice spiral
    k=145/w
    x=64+cos(a)*k
    y=64+sin(a)*k

    -- colour index. same as k above, colours change
    --  fast in the distance and slowly closer to the
    --  camera (which helps it look 3d)
    i=35/w+2+t()*3

    -- f(i)*16 is the higher bits of the colour code.
    -- f(i+.5) means that the lower bits (the standard
    --  colour) will be offset by half from the
    --  higher-bits colour. this produces the dithered
    --  transition between the solid blocks of colour.
    -- very cool!
    rect(x-w,y-w,x+w,y+w,f(i)*16+f(i+.5))
  end
end

-- returns a colour for the input
function f(i)
  -- 6-i%12 makes a loop that goes from 6 to -5.99, then
  --  loops back to 6 and keeps on doing that.
  -- we abs() that so it ping-pongs between 0 and 6.
  -- we add 1 to change 0->6 to 1->7, because arrays
  --  in pico-8 start at 1.
  -- we add the .5 because while we do hit 7 without it,
  --  it only hits 7 for like a millisecond. after the
  --  +.5 it goes from 1.5 to 7.5, so we can sit on 7
  --  for a little while longer.
  -- then we flr() it because array indexes are integers
  return c[flr(1.5+abs(6-i%12))]
end