PICO-8 Tweetcart Studies
Basics
Here are some basic effects and techniques that are used in tweetcarts.
If you’re looking for some general pico-8 information, or basic effect creation, the demobasics page goes through creating a few traditional carts from scratch.
| External Resources |
Links to other sites describing tweetcarts, pico-8, and effects! |
| _draw() vs goto |
Describes why goto is used a lot more than the _draw() function. |
| Changing The Display Palette |
Describes changing how pico-8 shows colours on the display. |
| cls() vs dithering |
Describes ways to clear the background when rendering new frames. |
| Condensing Code |
Describes ways to condense code, as well as specific patterns. |
| Flooring Numbers |
Describes using the integer division operator to floor numbers. |
| Random Values and Tables |
Describes regenerating random values every frame (instead of using a table). |
| Plasmas |
Describes plasma effects, how they work and how to create them! |
External Resources
Others have made some amazing resources about tweetcarts, pico-8, and demoscene effects that are super useful! Please feel free to check them out!
 @PrincessChooChoo
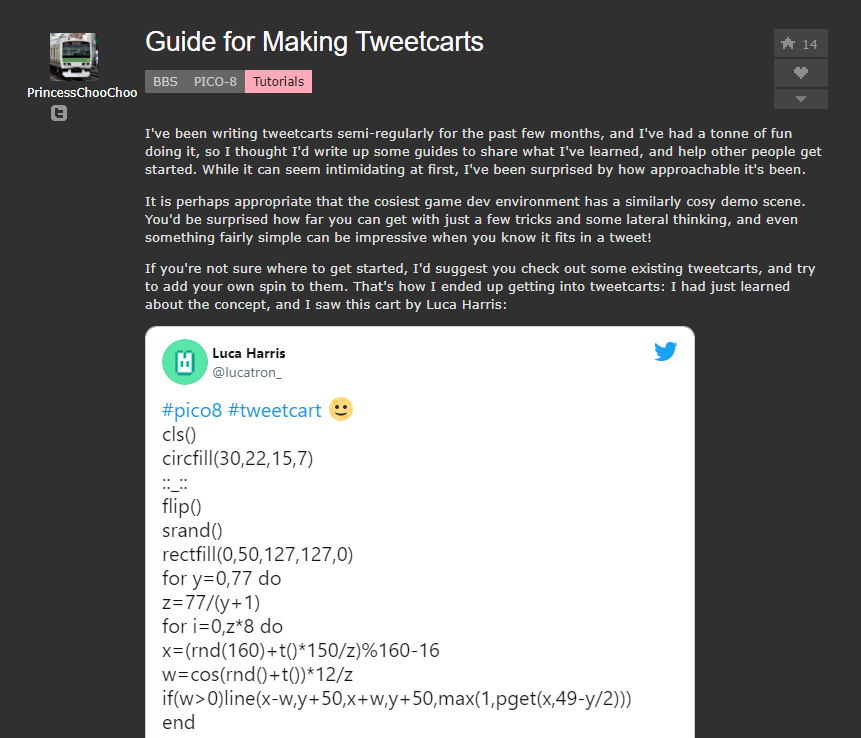
Guide for Making Tweetcarts
@PrincessChooChoo
Guide for Making Tweetcarts
 @egordorichev
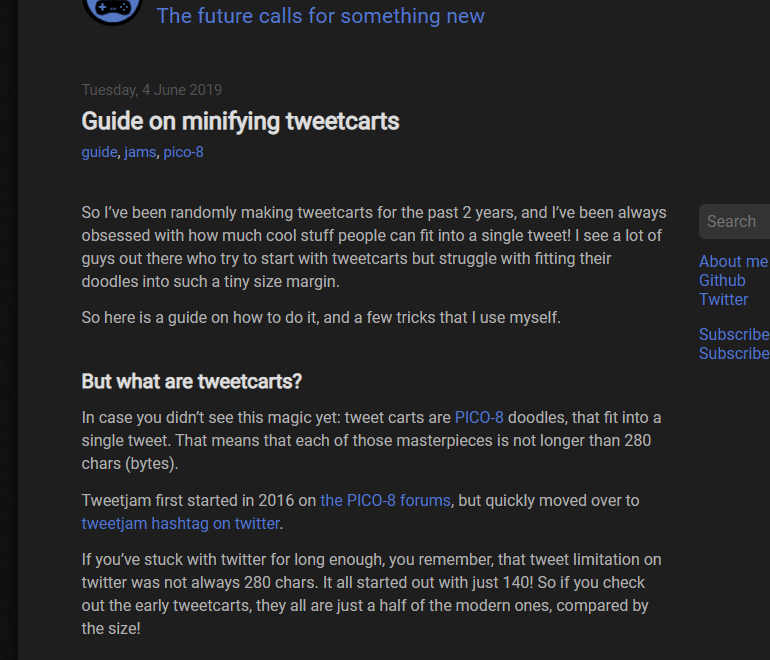
Guide on minifying tweetcarts
@egordorichev
Guide on minifying tweetcarts
 @2DArray
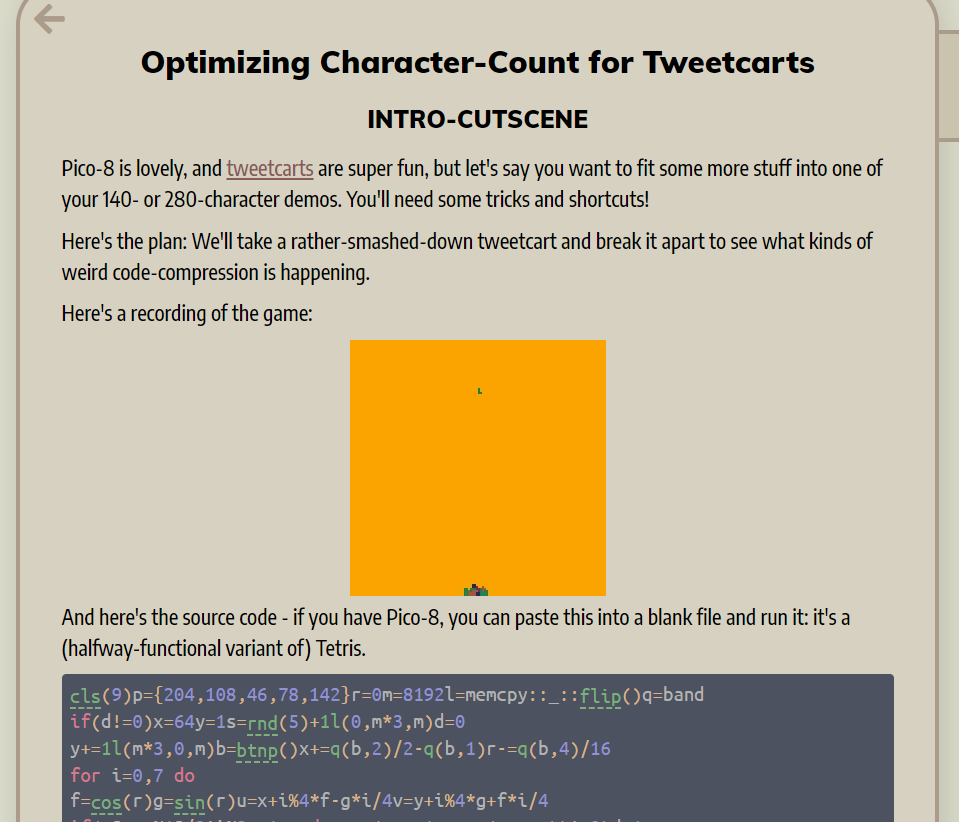
Optimizing Character-Count for Tweetcarts
@2DArray
Optimizing Character-Count for Tweetcarts
 @2DArray
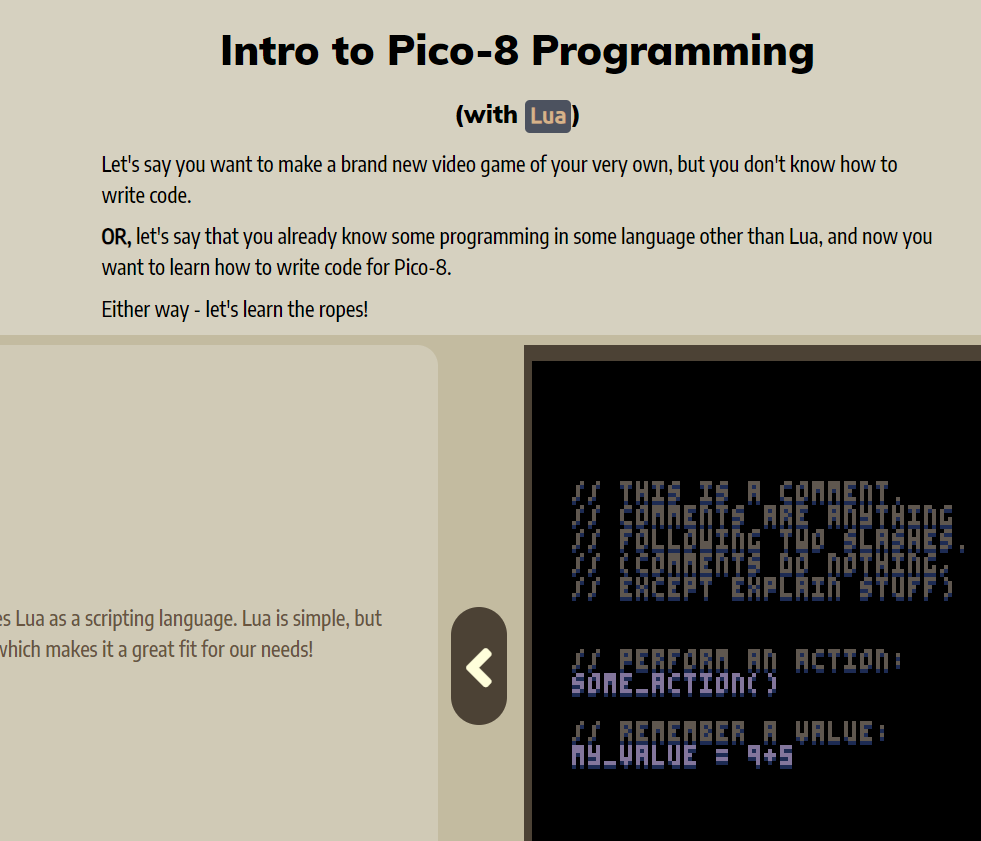
Demo-Man: Interactive Pico-8 and gamedev tutorials
@2DArray
Demo-Man: Interactive Pico-8 and gamedev tutorials
_draw() vs goto
When you look at tweetcarts for the first time, you may notice that almost all of them use something like this:
::_::
  -- code here
goto _
instead of this:
function _draw()
  -- code here
end
But why? Let’s dig into it.
When used in a tweetcart, the _draw() function does one very specific thing. It runs the code you put inside it, runs flip() to push it to the screen, and then runs that code again. If your code uses more than 100% CPU, it slows the drawing down to 15fps to compensate (this is what flip() does).
For most pico-8 carts, this works fine. This is perfect, and exactly how you want your drawing code to be run.
Let’s assume that your tweetcart also wants to do this. Here’s a couple of example carts that do exactly the same thing.
using _draw():
function _draw()
cls()
circ(64,64,12,7)
end
using goto:
::_::
cls()
circ(64,64,12,7)
flip()goto _
Even though they’re both doing exactly the same thing, the goto example is 2 characters shorter. That’s two more characters of math and effect you can squeeze in!
But when writing effects, sometimes you don’t need to use flip().
If your effect is written in a way that means the screen never gets into a bad state (e.g. you never call cls() to clear the screen), then pico-8 can decide when to push the newest frame on its own, and it’ll still look good.
Now, here’s where using goto can be really interesting.
If your screen is never in a bad state, then you can just leave the flip() out.
There are two ways you’ll tend to see goto being used, and those are:
- Each ‘drawing loop’ writes the entire screen.
- Each ‘drawing loop’ only writes one pixel, or a small area of the screen.
With (1), even if you need to call flip() it still ends up shorter and doing it with _draw() would be, and:
It’s really hard to do (2) in a short way while using the _draw() function.
As an example, let’s write up a cart that sets random pixels on the screen to random colours.
Here’s how the effect looks:
Here’s that cart implemented using goto:
::a::
pset(rnd(128),rnd(128),rnd(16))
goto a
On every loop, it sets one pixel to a new random colour. Simple and effective!
To do that nicely in a _draw() function would be difficult. You’d need to figure out how many pixels could be drawn each loop, and then only draw that many pixels per loop, or else get capped at 15fps. Here’s the equivalent code but using _draw():
function _draw()
  for _=1,6000 do
    pset(rnd(128),rnd(128),rnd(16))
  end
end
I’ve indented it here for clarity, but even without the indenting it’s clear that there’s a lot more to do. The _draw() version is more configurable, but in tweetcarts we’re usually optimising for short character counts rather than tweakability.
And, every time you change how complex that pset() function is, you’ll need to check how much CPU it’s using (Ctrl+P while running the cart) and adjust how many loops happen per frame.
In short, you’ll see goto used much more than _draw() in tweetcarts because it’s shorter and it gives you more control.
Take a look at some of these tweetcarts to see examples of both in action:
Changing The Display Palette
Here’s pico-8’s default display palette:
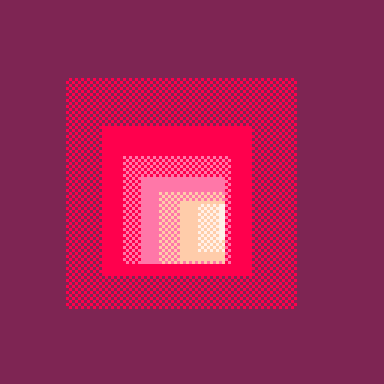
Say that you’re rendering a yellow-red gradient and want the colours in a nicer order. You could setup the first five colours on the palette to be this instead. Then when you display 0-5 it would show a smooth gradient:
Or, say that you want to access the secret colours to produce an even smoother blue gradient. Then you need to change the screen palette to something like this:
There’s been a lot of ways to do this in pico-8. These days, using the pal() table syntax is the quickest and easiest.
For example, this sets colours 1-7 to be the above blue gradient. Note that we’re leaving 6 and 7 out because 6/7 are already set to what we want in the default palette.
pal({-15,1,-13,-4,12},1)
However, before the table syntax was introduced you’d need to do something along these lines:
p={-15,1,-13,-4,12,6,7}
for i,c in pairs(p) do
  pal(i-1,c,1)
end
But there are lots of ways to do this. Anytime you see pal(*,1) that’s probably the display palette being changed. Checkout some carts on this site, most of them will change the display palette!
For reference, here’s all of the standard and the extended colours (using the minus-names to refer to the extended colours, since they’re shorter than the full colour ids):
Here are some carts that do this:

cls() vs dithering
Whenever you start a new frame, you can either call cls() to clear the screen, or you can just clear part of the screen. If you only clear part of the screen, you end up with an interesting dithered effect that can enhance how your scene looks.
Here’s an example cart that uses cls() every frame:
::♥::
cls()

x=64+sin(t())*30
y=64+cos(t())*30
circfill(x,y,4,7)

flip()
goto ♥
Here’s the same cart, but instead of using cls() it sets a bunch of random pixels to black instead:
::♥::
for x=1,6000 do
	pset(rnd(128),rnd(128),0)
end

x=64+sin(t())*30
y=64+cos(t())*30
circfill(x,y,4,7)

flip()
goto ♥

It might look like the dithered example is too long to be useful, but it’s common for intensive effects to leave out the cls() and render some amount of new pixels over the top of the old frame (to still update the display while using less cpu). If you render enough new pixels, it’s really hard to tell that you’re doing this. And if you don’t render enough, you get a cool dithery look that can seem pretty intentional.
It’s easiest to see this on startup, when carts that do this haven’t populated the entire screen yet so there’s lots of empty spaces.
Let’s modify this example just a little bit and redraw the circle after we do the flip(), but in a different colour:
::♥::
for x=1,6000 do
	pset(rnd(128),rnd(128),0)
end

x=64+sin(t())*30
y=64+cos(t())*30
circfill(x,y,4,7)

flip()
circfill(x,y,4,t()*4)
goto ♥

Now that looks really intentional! Here are some carts that use this technique:
Condensing Code
Here are some bits of code and functions, along with shorter alternatives. Also take a look at the minifying and optimisation guides linked in the external resources above.
Flooring Numbers
-- original
flr(x)

-- shorter
x\1
Backslash is used for ‘integer division’ in pico-8. This lets us do the same thing as the flr() function but in less code.
Random Values and Tables
-- original
s={}
for i=1,150 do
  add(s,{rnd(128),rnd(128),rnd(30)})
end
::_::
cls()
for p in all(s) do
  pset((p[1]-t()*10*p[3])%128,p[2],7)
end
flip() goto _

-- shorter
::_::
cls()
srand() -- re-initialise rng to known value
for i=1,150 do
  pset((rnd(128)-t()*10*rnd(30))%128,rnd(128),7)
end
flip() goto _
Take a look at how srand() and rnd() interact on this wiki page.
If you are storing randomly-generated things in a table, and they don’t get modified afterwards (except with consistent functions like t(), sin and cos), you might be able to skip the table and just re-generate the same values every tick. Just use srand() before the places where you calculate those consistent values and the output of rnd() will be the same every time!
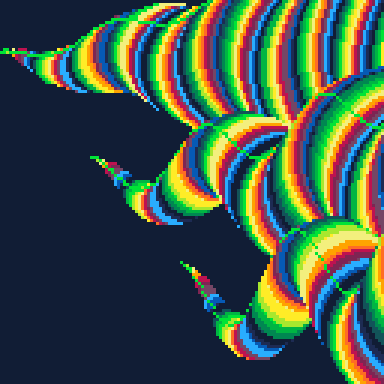
Plasmas
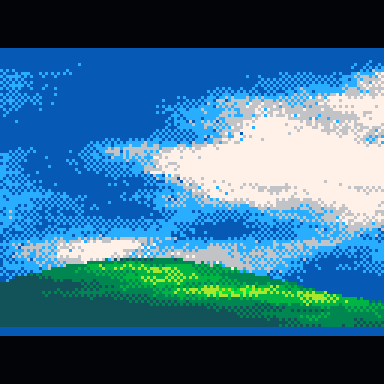
A plasma is a sort of noise function. Specifically, it’s a contiguous noise function, meaning that there’s a smooth flow between values. Compare these two examples:


The first example is created just by calling rnd() on each pixel - no pixels relate to each other, it’s like TV static.
The second example is created with a series of sin and cos functions, so there is a smooth relationship between these pixels.
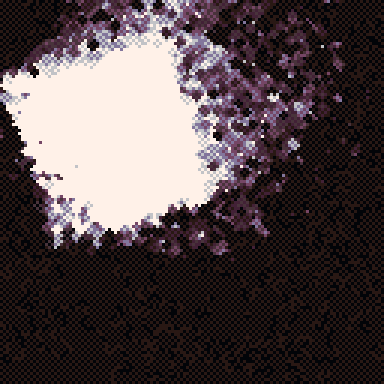
Plasmas get more complex as you add more sin() and cos() (and other) functions to them, and get very interesting when you start including time! Take a look at how this plasma changes as we add more functions on top:

Notice that with each added function, the pattern gets more interesting. The amount of pixels we can render while staying at 30fps also gets smaller (see the border getting larger each time).
When your function starts getting complex, you need to make less calculations and stretch your plasma. The landofbsod cart calculates enough new pixels that you get the gist of the movement (and the non-calculated pixels end up looking like bits of stray cloud). The bluevertigo cart calculates the colour of a single point and then applies that colour to an entire line segment. Lots of ways to stretch the effect so it covers the whole screen!
You’ll see this effect used all the time in the demoscene and in tweetcarts because it’s easy to use and adjust (just change the values that you put into sin and cos, and adjust what you multiply/divide it all by). With enough tweaking, you can end up with something that looks like clouds, a twisty pattern for a tunnel – lots of different applications!
This page also has some interesting information and examples of plasmas.
Here are some carts that use this effect: